Swift Testing 비동기 테스트: async/await, 콜백, MainActor까지 실행 예제로 정리
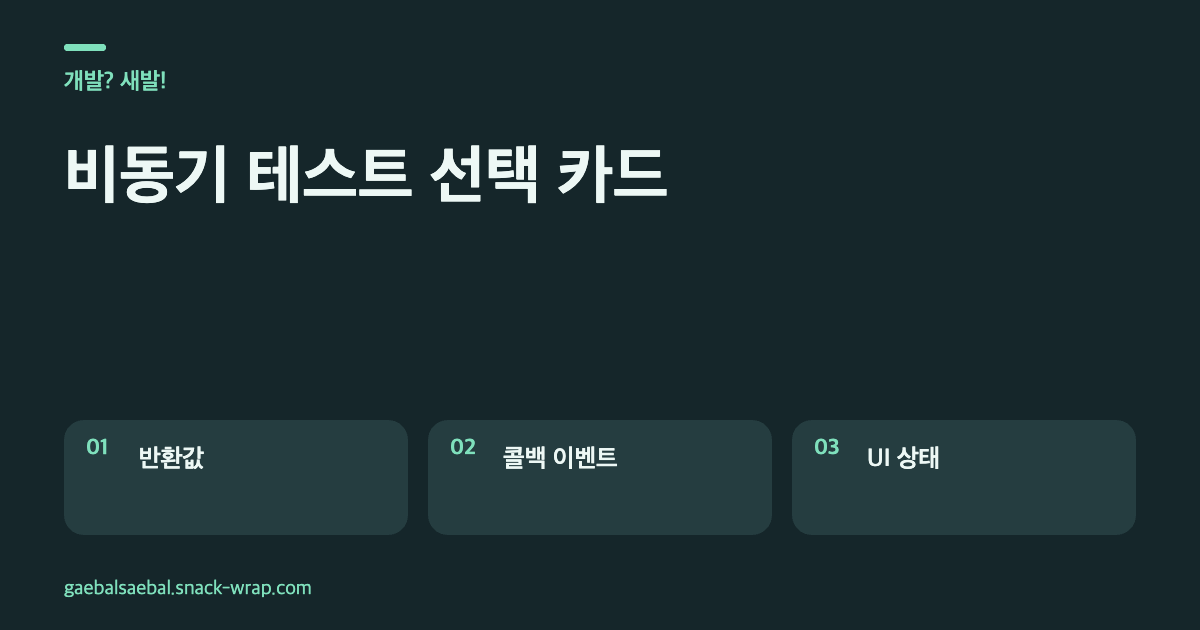
반환값이 있는 async 함수는 테스트 자체를 async로 만들고 await 뒤에 #expect를 붙이면 됩니다. 콜백은 무조건 confirmation으로 바꾸는 게 아니라, 한 번의 결과를 돌려주는 completion이면 continuation으로 async화하고, 작업 도중 발생하는 이벤트의 횟수를 확인할 때 confirmation을 쓰는 편이 안정적이에요. 아래 예제는 이 기준과 MainActor 격리까지 한 Swift 패키지에서 실행할 수 있게 구성했습니다.
실행 가능한 Swift 패키지 예제
다음 구조로 파일을 저장한 뒤 패키지 루트에서 swift test를 실행하세요.

AsyncTestingDemo/
├── Package.swift
├── Sources/AsyncTestingDemo/AsyncTestingDemo.swift
└── Tests/AsyncTestingDemoTests/AsyncTestingDemoTests.swift

// Package.swift
// swift-tools-version: 6.0
import PackageDescription

let package = Package(
    name: "AsyncTestingDemo",
    platforms: [.macOS(.v13)],
    products: [
        .library(name: "AsyncTestingDemo", targets: ["AsyncTestingDemo"])
    ],
    targets: [
        .target(name: "AsyncTestingDemo"),
        .testTarget(
            name: "AsyncTestingDemoTests",
            dependencies: ["AsyncTestingDemo"]
        )
    ]
)

// Sources/AsyncTestingDemo/AsyncTestingDemo.swift
import Foundation

public struct Profile: Equatable, Sendable {
    public let name: String

    public init(name: String) {
        self.name = name
    }
}

public actor ProfileStore {
    public init() {}

    public func fetch(id: Int) async -> Profile {
        await Task.yield()
        return Profile(name: id == 7 ? "Mint" : "Guest")
    }
}

public final class LegacyLoader: Sendable {
    public init() {}

    public func load(
        completion: @escaping @Sendable (Result<String, any Error>) -> Void
    ) {
        DispatchQueue.global().async {
            completion(.success("mint"))
        }
    }
}

public func loadAsync(_ loader: LegacyLoader) async throws -> String {
    try await withCheckedThrowingContinuation { continuation in
        loader.load { result in
            continuation.resume(with: result)
        }
    }
}

public struct Importer: Sendable {
    public init() {}

    public func run(
        shouldFail: Bool,
        onProgress: @Sendable (Int) -> Void,
        onError: @Sendable (String) -> Void
    ) async {
        await Task.yield()

        if shouldFail {
            onError("network")
            return
        }

        onProgress(50)
        onProgress(100)
    }
}

@MainActor
public final class ScreenModel {
    public private(set) var title = "Loading"

    public init() {}

    public func reload(using store: ProfileStore) async {
        title = await store.fetch(id: 7).name
    }
}

// Tests/AsyncTestingDemoTests/AsyncTestingDemoTests.swift
import Testing
@testable import AsyncTestingDemo

@Test("async 반환값")
func asyncValue() async {
    let profile = await ProfileStore().fetch(id: 7)
    #expect(profile == Profile(name: "Mint"))
}

@Test("completion을 async 값으로 변환")
func callbackResult() async throws {
    let value = try await loadAsync(LegacyLoader())
    #expect(value == "mint")
}

@Test("진행 이벤트가 정확히 두 번 발생")
func progressEvents() async {
    let importer = Importer()

    await confirmation("progress", expectedCount: 2) { progress in
        await importer.run(
            shouldFail: false,
            onProgress: { value in
                #expect(value == 50 || value == 100)
                progress()
            },
            onError: { _ in }
        )
    }
}

@Test("성공 작업에서는 오류 이벤트가 없음")
func noErrorEvent() async {
    let importer = Importer()

    await confirmation("error", expectedCount: 0) { error in
        await importer.run(
            shouldFail: false,
            onProgress: { _ in },
            onError: { _ in error() }
        )
    }
}

@MainActor
@Test("MainActor 화면 상태")
func mainActorState() async {
    let model = ScreenModel()
    await model.reload(using: ProfileStore())
    #expect(model.title == "Mint")
}
비동기 테스트 선택 체크리스트
- async 반환값이면 테스트를 async로 선언하고 직접 await하기
- 단일 completion 결과면 continuation으로 async 경계 만들기
- 반복 이벤트면 confirmation과 expectedCount 사용하기
- confirmation 본문에서 이벤트 생산 작업의 완료까지 await하기
- 미발생 검증은 expectedCount 0과 완전한 관찰 구간을 함께 쓰기
- @MainActor 상태를 다루면 테스트도 같은 actor로 격리하기
- 공유 mock 대신 테스트마다 독립 인스턴스 만들기
- 실패 확인 때 예상 횟수나 입력을 의도적으로 한 번 바꿔 보기
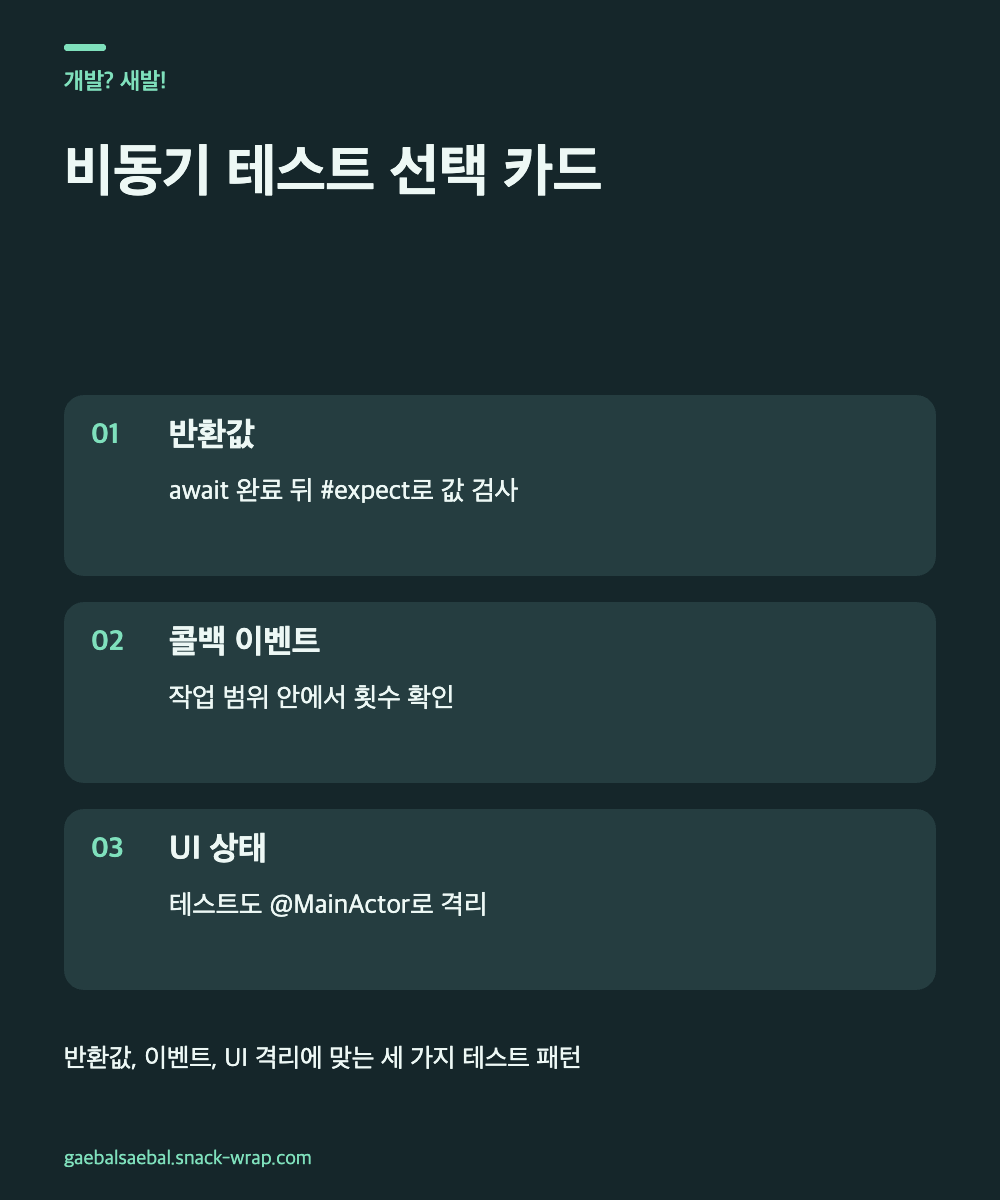
기다려야 하는 값과 세어야 하는 이벤트를 나눠요
Swift Testing은 async 테스트 함수를 직접 지원합니다. 따라서 async 함수의 최종 결과가 궁금하다면 별도의 대기 객체나 임의의 sleep이 필요하지 않아요. await가 작업 완료 시점을 정하고, 그다음 #expect가 값을 검사합니다. 테스트 함수에서 처리하지 않은 오류가 던져져도 테스트 실패로 기록됩니다.
completion이 정확히 한 번 최종 결과를 전달하는 오래된 API라면 withCheckedThrowingContinuation으로 얇게 감싼 뒤 같은 방식으로 테스트할 수 있습니다. 반대로 진행률, 델리게이트 호출, 오류 알림처럼 한 작업 안에서 0번 이상 일어나는 사건은 confirmation의 영역이에요. 이 구분을 지키면 결과 검사와 이벤트 횟수 검사가 한 테스트 안에서 뒤섞이지 않습니다.
confirmation은 타임아웃 대기 장치가 아니에요
confirmation은 전달한 본문이 반환될 때 실제 호출 횟수와 expectedCount를 비교합니다. XCTestExpectation처럼 별도로 fulfill될 때까지 멈춰 기다리지 않아요. 그래서 비동기 작업을 시작만 하고 confirmation 본문을 바로 끝내면, 콜백이 잠시 후 도착하더라도 이미 0회로 판정될 수 있습니다.
예제의 Importer.run은 가능한 progress 또는 error 콜백을 모두 보낸 다음 반환합니다. confirmation 본문이 이 함수를 await하므로 관찰 구간이 명확해져요. fire-and-forget 방식이라 호출자가 완료 시점을 기다릴 수 없다면 continuation으로 완료 경계를 만들거나, 제품 코드가 제공하는 Task·AsyncSequence 같은 수명 신호를 기다려야 합니다. Task.sleep으로 시간을 넉넉히 주는 방식은 완료 조건 대신 실행 속도를 가정하므로 안정적인 해결책이 아닙니다.
0회 검증에도 관찰 구간이 필요해요
expectedCount: 0은 금지된 이벤트가 발생하지 않았는지 검사합니다. 다만 confirmation 본문을 즉시 끝내면 아무것도 관찰하지 않은 채 통과할 수 있어요. 아래 noErrorEvent 테스트는 importer.run이 끝날 때까지 기다리므로, 오류 콜백이 발생할 수 있었던 구간 전체를 포함합니다.
횟수 오류를 직접 확인하려면 progressEvents의 expectedCount를 2에서 1로 바꿔 테스트를 실행해 보세요. 실제 두 번 호출된 confirmation과 예상 한 번이 달라 실패해야 합니다. noErrorEvent의 shouldFail을 true로 바꾸면 기대하지 않은 오류 이벤트 한 번도 잡아낼 수 있어요.
UI 상태는 테스트의 격리도 맞춰요
@MainActor로 격리된 화면 모델을 검사한다면 테스트 함수에도 @MainActor를 붙이는 방법이 가장 읽기 쉽습니다. 그러면 초기화, 메서드 호출, 상태 확인이 같은 격리 문맥에서 이뤄져 불필요한 MainActor.run 호출을 흩뿌리지 않아도 됩니다.
Swift Testing 테스트는 기본적으로 병렬 실행될 수 있으므로 전역 싱글턴이나 공유 mock의 가변 상태는 피하는 편이 좋습니다. 예제처럼 테스트마다 새 인스턴스를 만들면 다른 테스트의 실행 순서에 기대지 않아요. 실제 앱에서 공유 상태가 불가피하다면 actor로 보호하거나 해당 테스트 묶음의 직렬 실행 필요성을 별도로 검토해야 합니다.